There is definitely no shortage of beautiful artwork that my kids come home with from school, church, extra curricular activities, and made at home art. The endless amounts of paper really add up overtime and we are faced with what to keep, what to display and what to get rid of (after the kids go to bed of course so they don’t see, because by morning it is all forgotten about). I always keep projects with hand prints,poems, handwritten stories, things that I know we will love to look back at someday in a memory box or book.
I was given a great piece of advice several years ago from a well seasoned mom whose kids were grown and on their own. She told me to get a box, label each box with your child’s name, and as the projects come home put the ones in the box that you want to hold on to, and at the end of their school years pull the box out and present it to your child!
Before those special papers get put in the box for safe keeping I display them around the house. In the kitchen, family room, and most recently my kids have wanted to see their artwork displayed in their bedrooms.
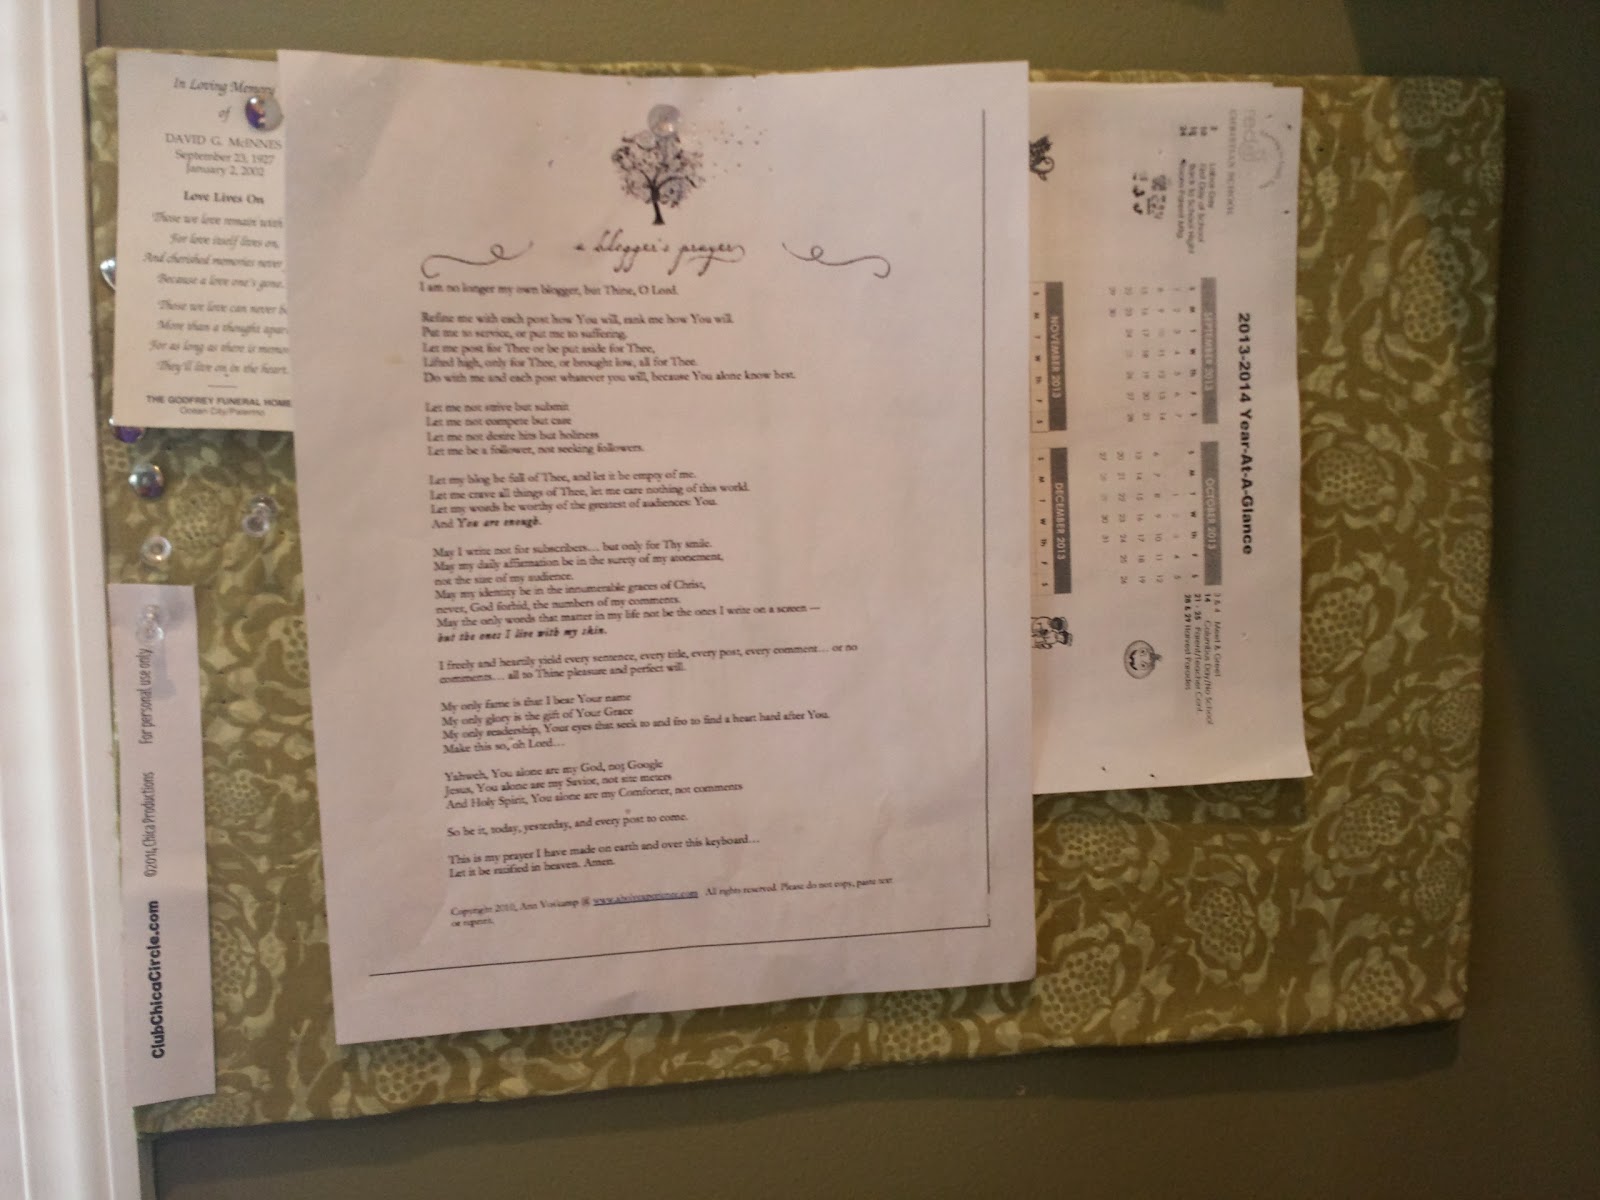
I came up with a way for their artwork to be displayed and have it look good up on the wall! I set out to Joann’s and bought cork bulletin bars, some fabric, glue sticks, and push pins! If you are looking to jazz up your art work on the wall this is a simple, easy to make, and inexpensive way to get all those great papers and projects displayed!
1 package of Cork Bulletin Strips-4 come in a pack
22 Inches of your choice of fabric
Glue gun
Push pins to display the artwork
Cut a piece of fabric a little longer than the bar
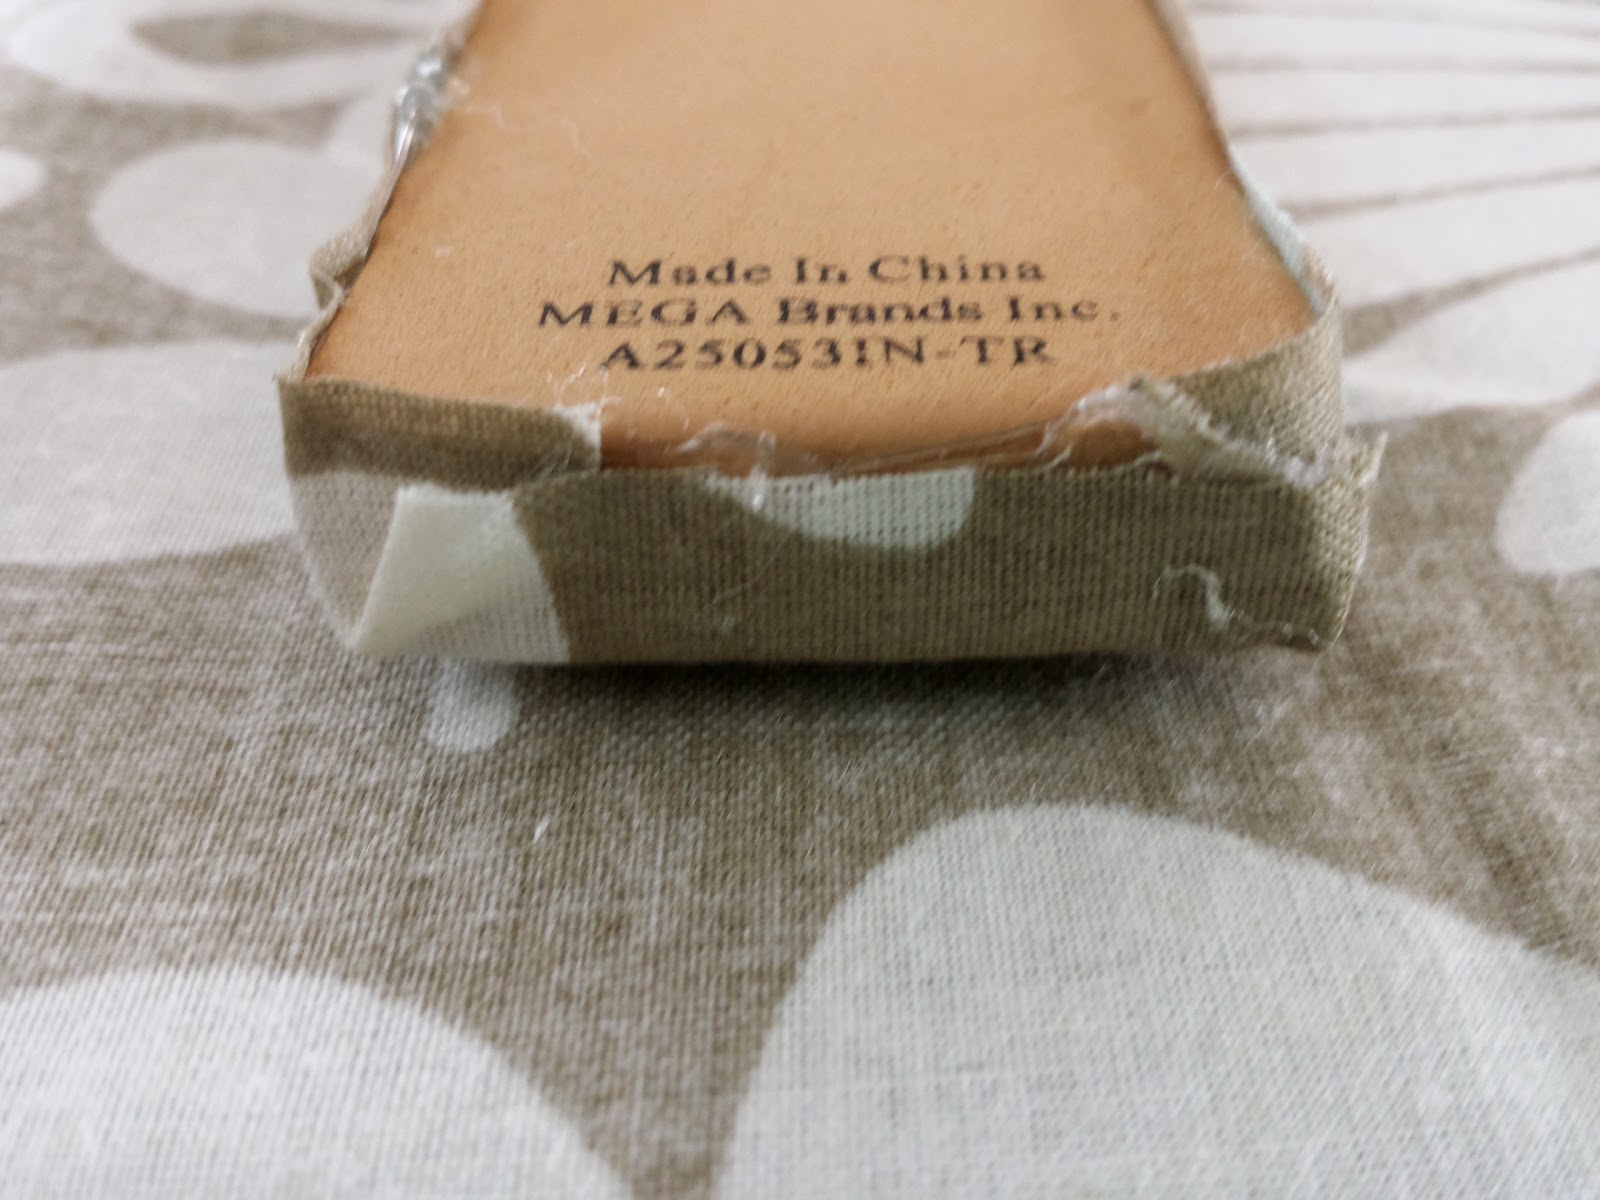
With your hot glue gun begin gluing the edges with the cork side down
Fold the ends in and glue together
Think of wrapping a gift as you glue the edges and the ends, it’s the very same concept.
Apply the adhesive to the back-it comes with it-bonus!
Find a great place to hang
Using push pins add some artwork and voila!





.jpg)


